Craft Room Re-do Re-Do
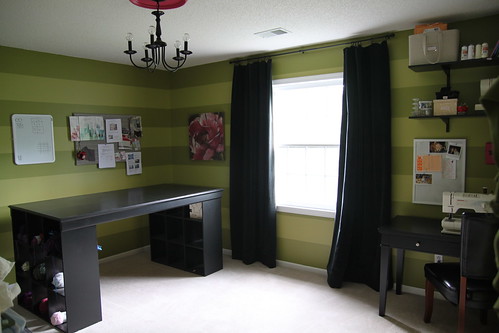
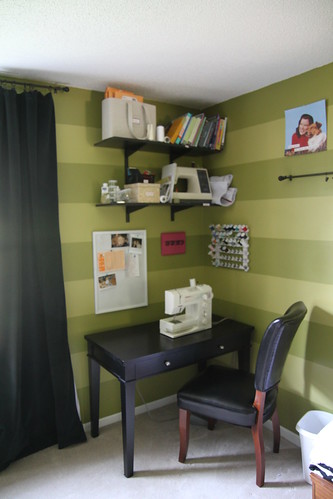
I loved the stripes in my old craft room. But I needed more sewing space, especially with my new machine. And the carpet was a minefield of hidden dropped pins. Also very difficult to keep clean of thread and craft crap. At least that is what my excuse was. And since there was so much going on in the space, I was wanting some clean and bright walls while we were at it.
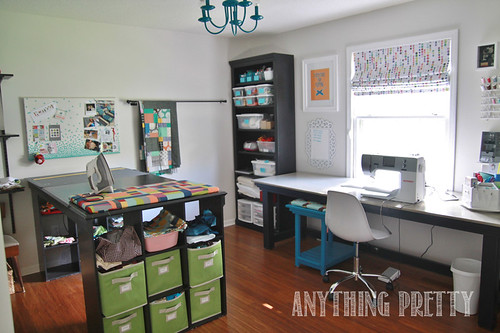
So here is my new craft/sewing space. Quite possibly my favorite room in the house. Because I love to be in there. Because it super functional for my sewing/crafting wishes. And because it is pretty to look at.
It is this clean and organized all of the time. Insert sarcasm font.
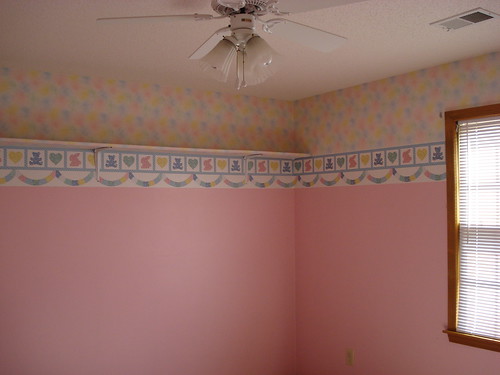
Here is what we originally started with when we moved in. Pink and wallpaper.
And then here was the stripes and small table of the original craft room makeover.
So let’s start with the big stuff. The walls are painted with the leftovers from the basement- Sherwin William's Eider White. And the floors are a bamboo hardwood.
I had a minor freakout the night before the were installed that they were going to be too orange. As in Honey Oak orange. I may have been seen laying out a whole section of the wood out of the box on top of the ugly honey oak ones in the kitchen. At midnight. To judge if the oranges were different. But after they went in I love them and they are so much nicer than carpet in the space. Just a quick sweep and they are clean. At least the floor part.
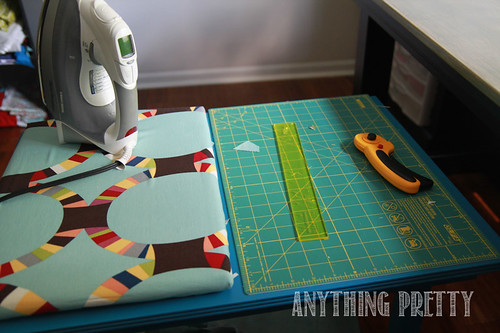
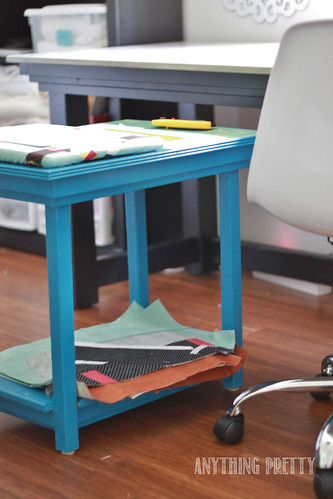
Derek made the amazing massive sewing table modifying this plan from Ana White as well as the smaller table that pulls out to give me an L shaped workspace and so that I don’t have to constantly move up and down. Life-changing. Both the space on the table and the ability to swing my chair to the side for a quick cut or press. He knows the way to my heart is building furniture and he does it so well.
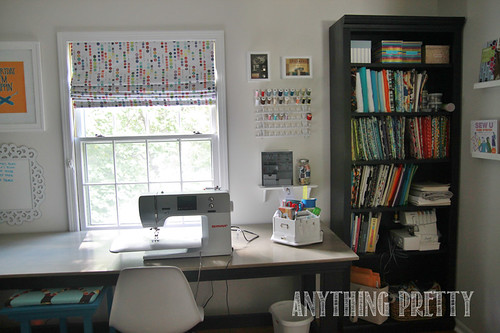
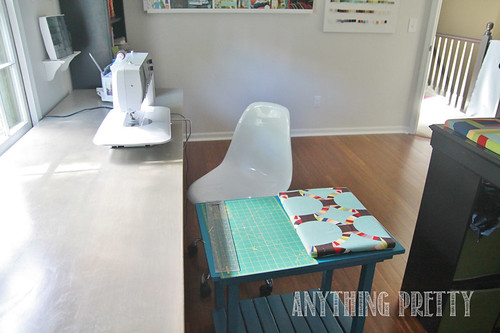
I painted the bottom of the table solid black and glazed the top with a gray paint using my tried and true method with gray acrylic paint. It is difficult to get a good picture of the finish next to the window, but most people who come into the space think that it is stone before they run their hands over it to see it is wood.
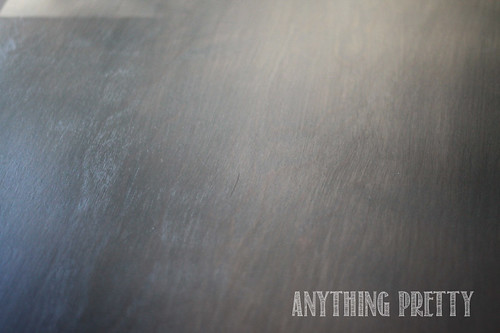
That was not my intention with the glaze, but I love that it turned out that way.
I love that my machine is directly in front of the window so that during the day I can look out into the backyard.
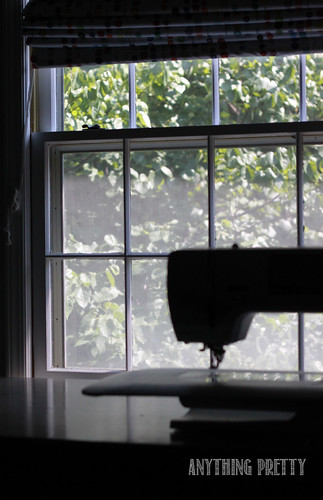
Let’s also pretend that I just snapped that photo and the midwest is looking that green this time of year.
Now let’s take a spin around the rest of the room.
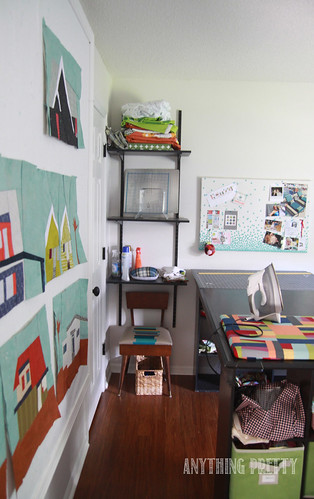
The cutting table is the same, just spun around. It still gives me a lot of floor space (and enough room for an air mattress when we need an additional guest bed). I got rid of the ironing board, but added a an ironing space modifying this tutorial, making it instead with just a piece of plywood rather than an entire table. The cover is removable like a fitted sheet for washing purposes. And when I need a really big cutting surface, I just take off the ironing board.
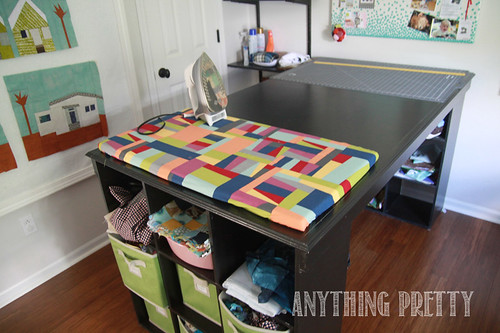
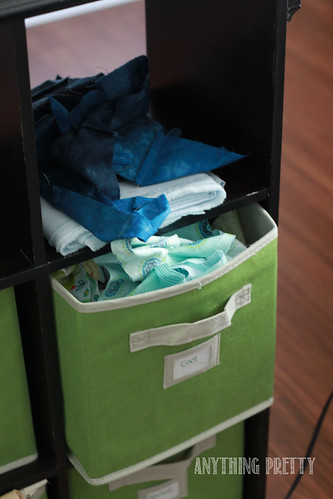
My fabric scraps and works in progress are housed in the cubbies underneath.
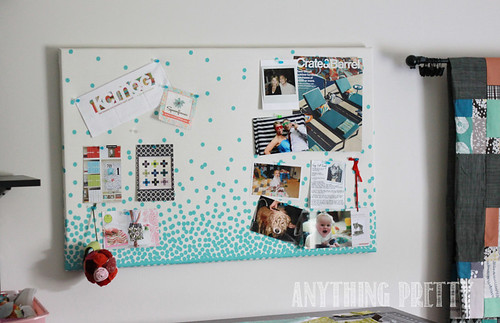
My bulletin board is simple…a cork board with fabric stapled around it.
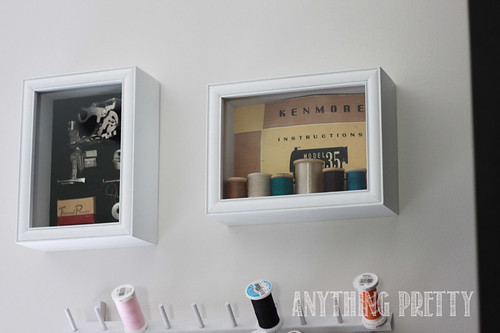
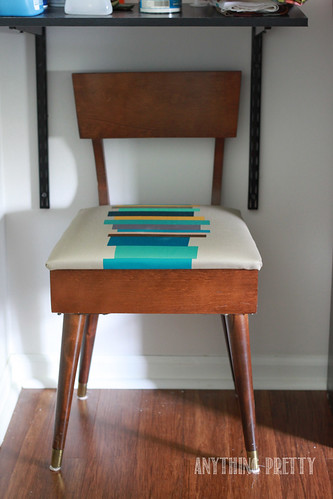
My grandmother’s sewing accessories are in shadow boxes on the wall and I recovered her sewing chair for an extra space when friends come to sew. It is tucked into the corner.
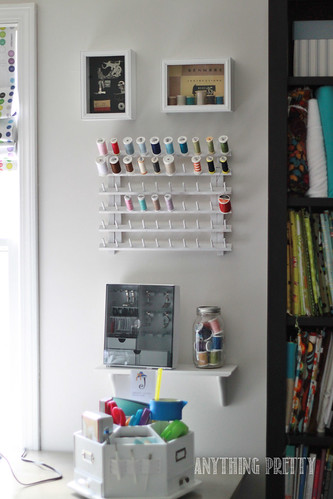
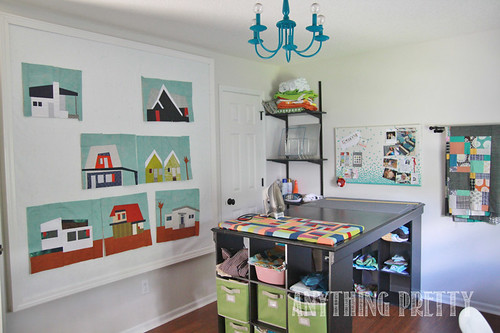
My design wall remained the same.
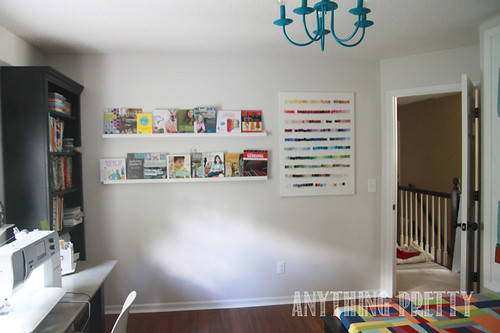
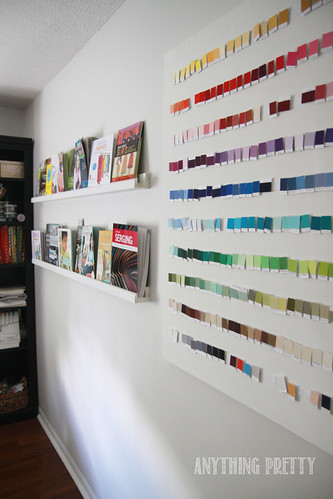
And the Kona color card moved next to my bookshelves.
Derek made some simple forward facing bookshelves like these to hold a sampling of my craft/sewing books. I have found seeing the covers instead of just having them stacked on a shelf reminds me to use them more-either for specific projects or just for the general inspiration of pretty pictures. Not all of them fit, but I rotate them around with ones stored the typical way to keep things fresh.
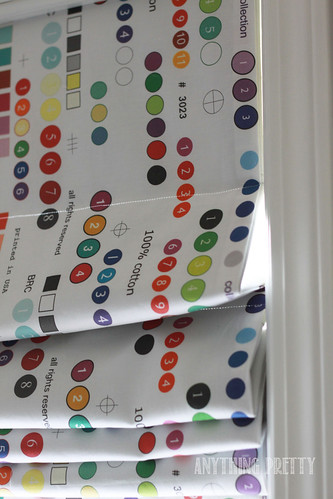
The roman shade is also DIY with selvedge fabric from Spoonflower. I loosely used this tutorial and backed it with blackout lining so it can be dark in there for people to sleep if the space is needed for another guest space.
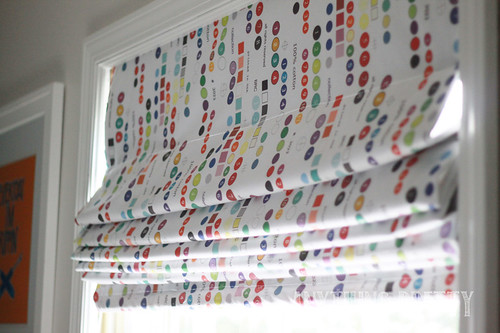
And that print is just perfect for a sewing room.
Also above my sewing table is my friend Lauren’s print. I love the colors and the sentiment.
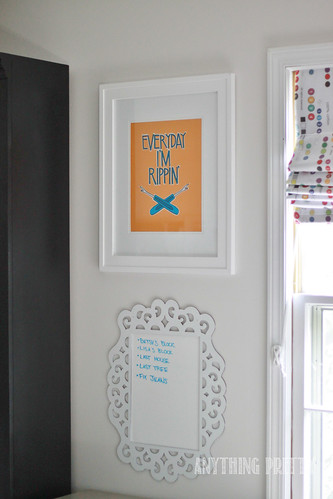
Notice the seam ripper is well accessible next to my machine
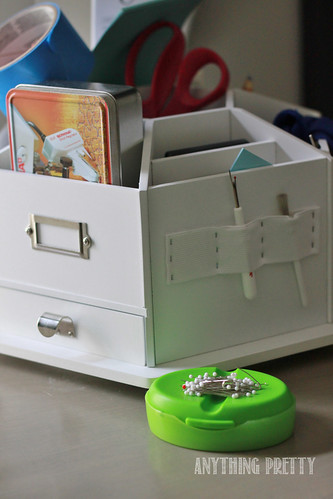
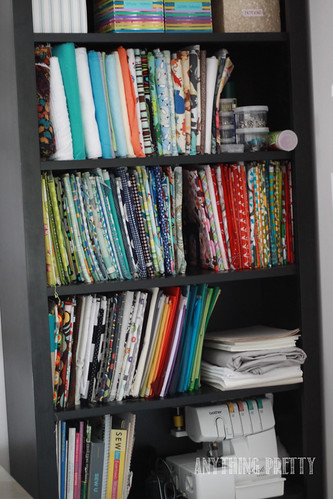
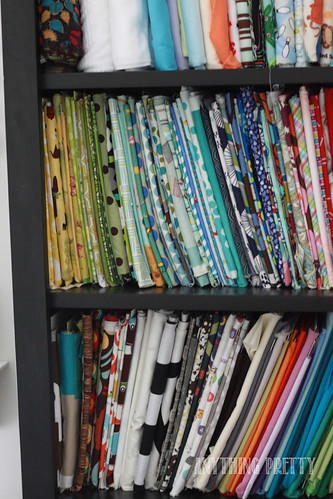
And some more organization pics if you are into that. I keep my fabric organized using the mini bolts method as explained here. It has helped so much with finding what I need. The top shelf is fabrics other than cotton. Then my prints organized by color, with some subsections (i.e. Christmas). And then my solids organized by color. Don’t worry, my stash has increased a lot since I snapped these pictures. Especially the solids. My serger is below that. My sewing table is so big, I also can keep it out if I am going to be using it frequently. My precuts and patterns are on the bottom shelf.
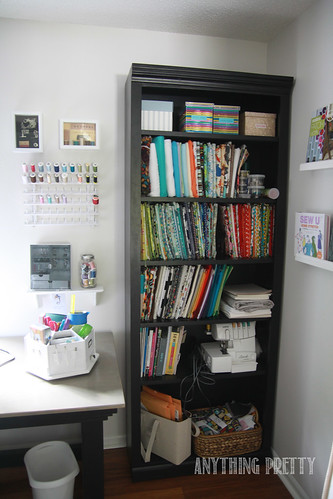
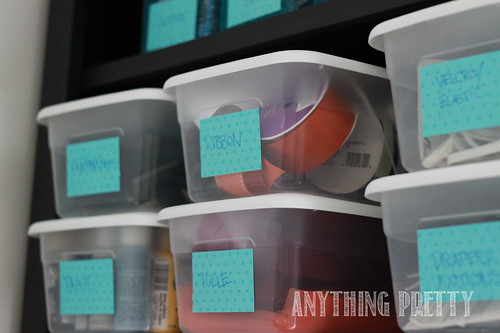
Non-sewing craft supplies and batting are on the opposite bookshelf.
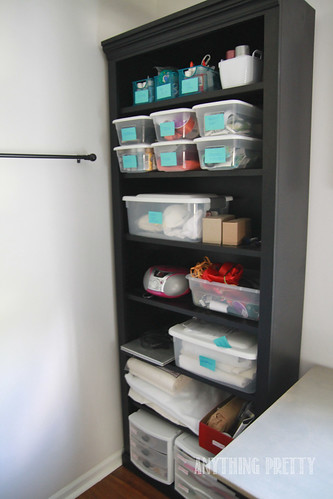
And rulers, ironing supplies and large amounts of fabric are on the shelves over the chair.
Whew! Sorry for the picture overload, but I always love looking at where people create and how they organize. I have learned a lot about how I want a space to work for me when I am sewing and crafting and I think this space fits the bill perfectly. I think I named most of my sources, but let me know if you are curious about something I missed. Hope you enjoyed the tour!
I am linking up with-

