Nursery Reveal
We made it! The nursery is officially complete even before he has decided to make his arrival. It has taken a lot longer to put together than I envisioned back in January when we started this project, but considering the construction, all the DIY, our insanely busy spring and that I am the ultimate procrastinator, it is really not that surprising.
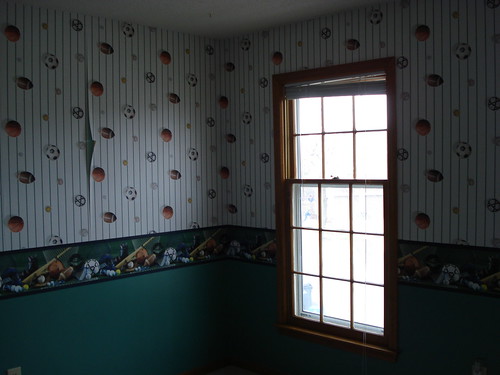
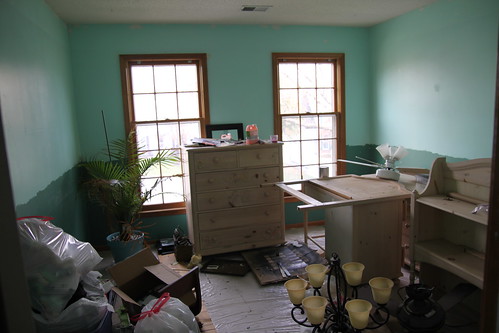
But before you scroll down to see what we put together, let’s walk down memory lane with the befores to see what we we were working with.
What the space looked like when we moved in-
And then what it really looked like for 2 and half years…..affectionately referred to the junk room. Don’t know where to store something? Throw it in there. Need to paint some cabinets? Scoot some crap around and have at it.
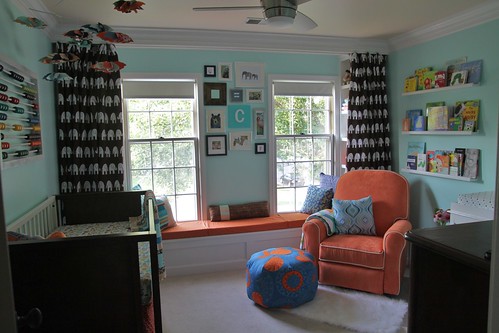
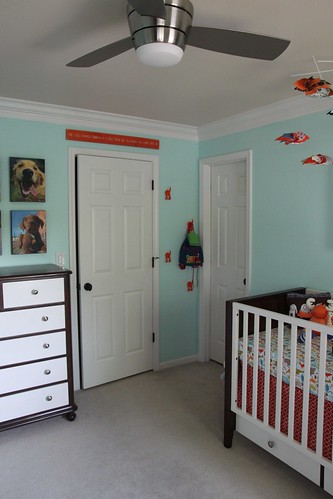
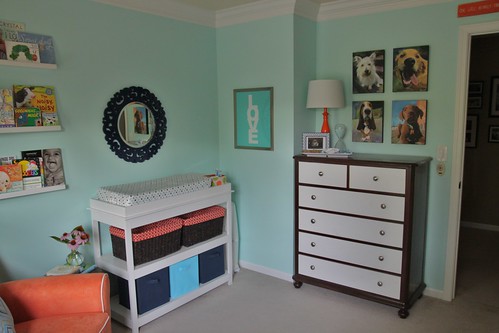
And now here it is waiting patiently (unlike Derek and I) for it’s new occupant-
Back in the beginning when we were planning the space, my first idea was an orange and aqua color scheme but no real theme. I figured once we knew if we were having a boy or a girl we could add blues or pinks to make it a more gender specific space. Of course, I figured a lot of DIY and sewing was also going to be in the cards.
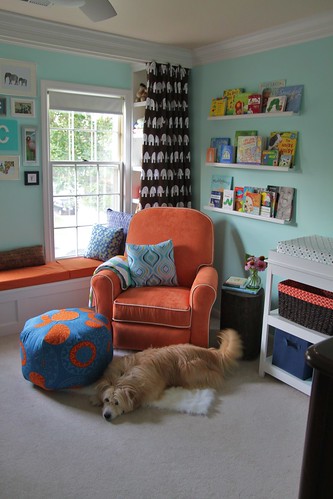
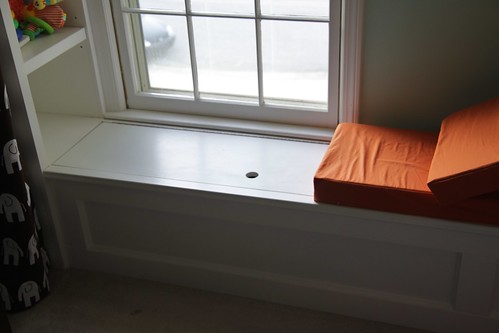
One of the biggest projects in the room (and our first) was the window seat. 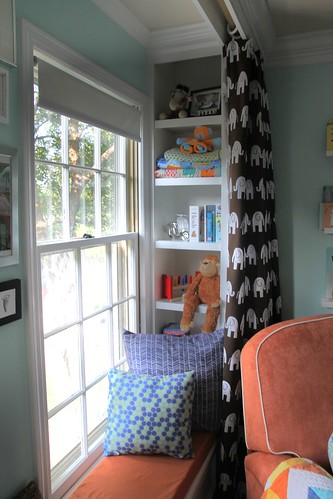
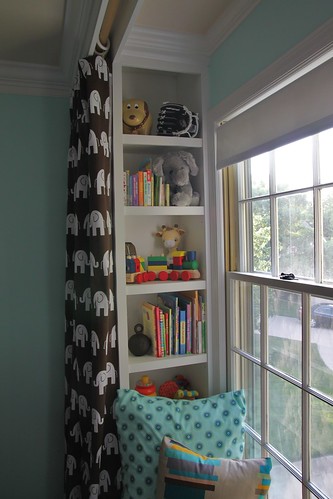
Because of the window configuration, limited furniture was going fit on that wall anyway and I thought that an architectural feature that was also functional from a storage and seating standpoint would make the room.
After the construction and painting was going, we started to pick up random items we found that we thought we be good fits in the space. Hmmmmm…somehow we had a lot of animal things so that is the loose theme we decided to run with. However, I am a big believer in adding things that you love and not just because of a theme.
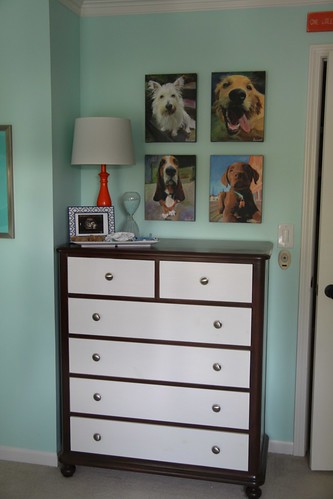
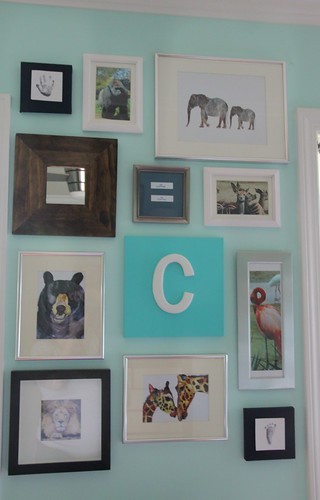
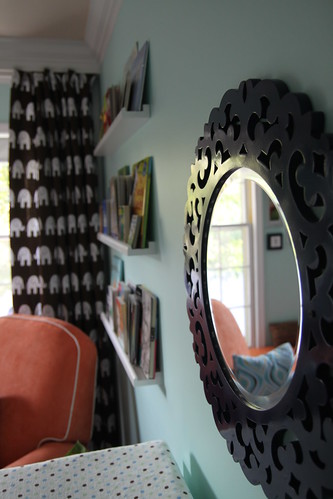
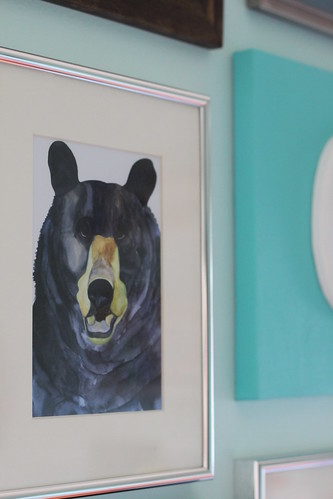
Items with personal significance were also something I wanted to incorporate in the space. We have not shared baby boy’s name with anyone (but my mother-in-law has a pool going if anyone is interested). However, the first initial is common knowledge. So of course I had to incorporate that. On the gallery wall are also photos we took at the San Diego zoo during our last vacation (technically baby’s first). After he is born, the clip art hand and footprints will we replaced with his (and yes I realize my stand-in has a disproportionate hand to the size of the foot…I was just using those to make sure I liked the idea).
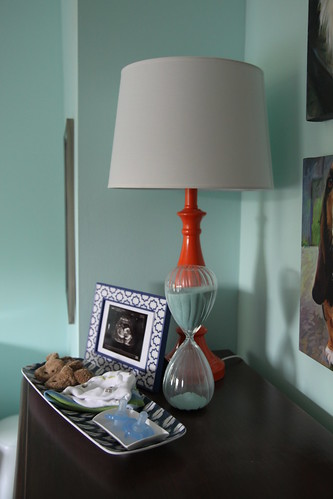
But personal items don’t end with the gallery wall as I wanted things that meant something to us, but not scream “look at my name" all over the place (although I know some curious family members that were voting for that tactic).
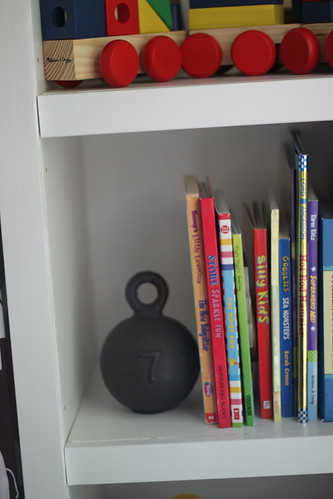
For example, I needed some bookends and I love that this has his birth month stamped on it.
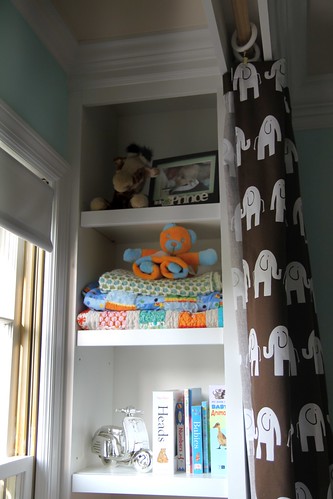
Or that all of those blankets were handmade for him by generous friends and family. And that the silver scooter reminds us of Italy.
And that cross from the Vatican in Rome was the very first thing we ever bought for, at the time, our future baby. 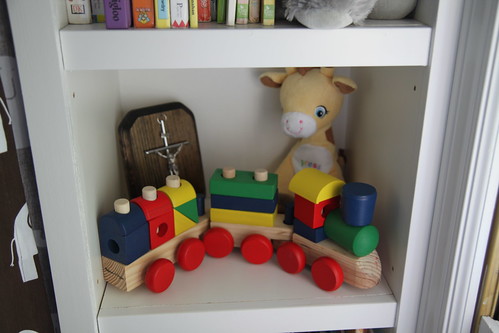
I won’t bore everyone with the personal significance of everything in the space, but overall I tried to have at least one item with meaning on every shelf. However, don’t get me wrong, some things are in the room because they are fun and I like how they look. Like this…
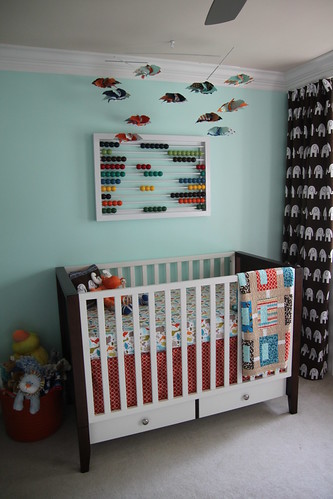
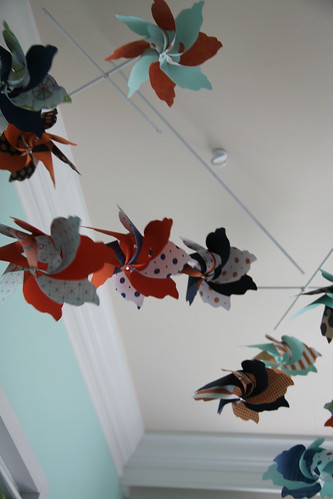
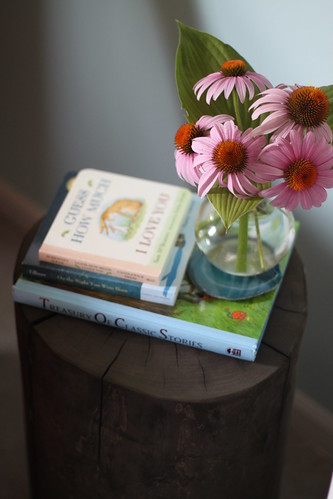
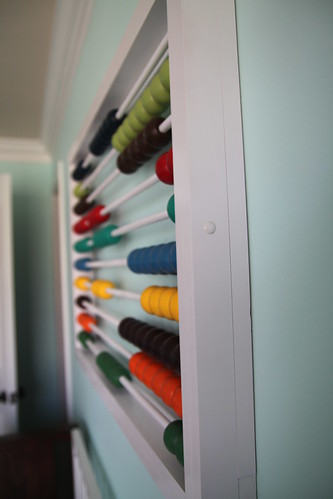
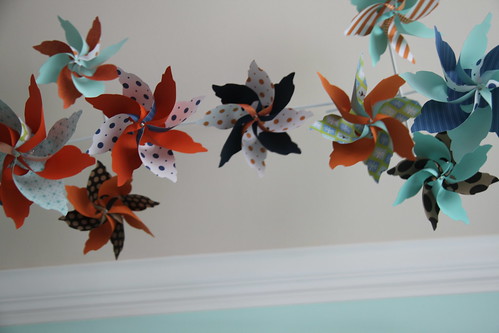
I guess you could also say that DIY was a major theme in the space. The only pieces of furniture that were store bought were the crib and the chair. We either made or “revised” everything else. I have already talked about most of those projects as we embarked on them but in case you missed them check out the abacus, dresser, changing table, bookshelves, stump table, pinwheel mobile, quilt and bedding.
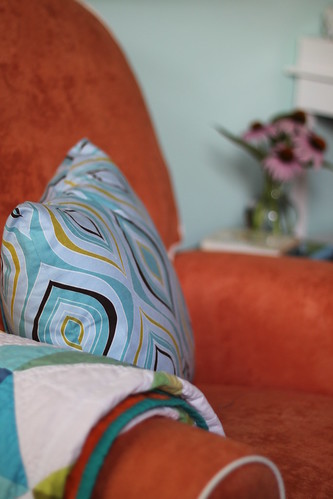
The space also had to be functional besides nice to look at. We have never done this whole baby thing before, but from what I have heard, they can be messy. So every single cloth surface (minus the chair that is stain protected) can be thrown in the washing machine. Every pillow and cushion cover is removable and the although it took forever to find curtain fabric that I loved and could be thrown in the wash, I was ultimately successful.
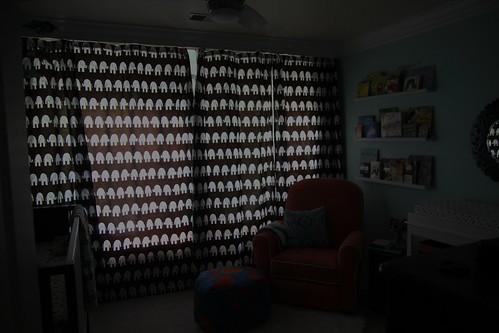
The curtains are also not just for looks. I made four panels that stretch all the way across for light control.
I am still planning on adding black out lining to the back of them for even more light control, but I decided not to sew them together as I read varying reports about the washability of black out lining. So it is getting hemmed separately and then just clipped behind the panels.
The cushions also remove from the window seat easily to access all the storage underneath. In addition, the neighbor kids have shown me that they make great hiding places. Maybe we need to drill some more air holes.
Also every item that is hanging on the wall in baby’s reach is securely fastened to studs with screws.
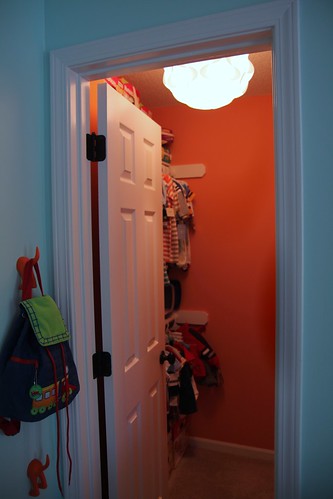
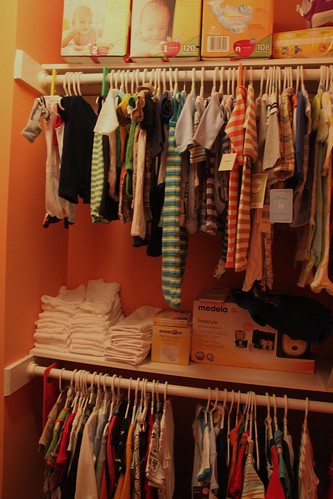
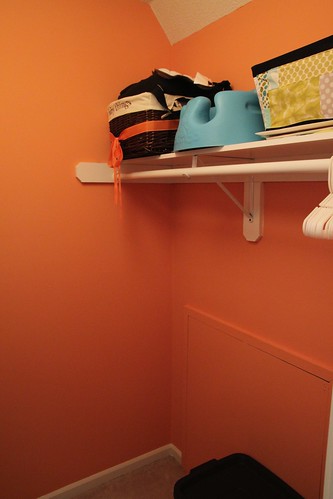
And the ultimate storage area also went through a little makeover.
Lots of clothes and other baby paraphernalia waiting for him, but we still have tons of room that I know we will fill in the future.
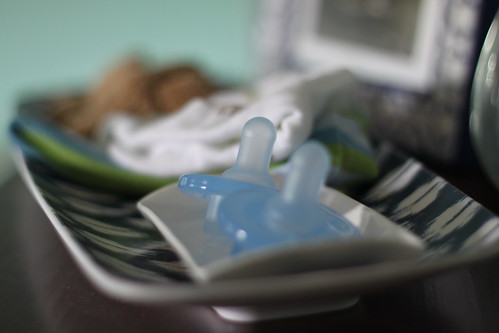
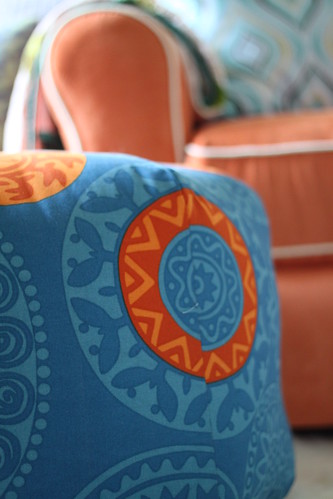
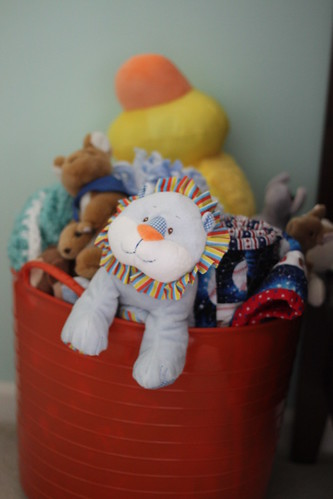
And finally just some more pictures of details of the space that I love…
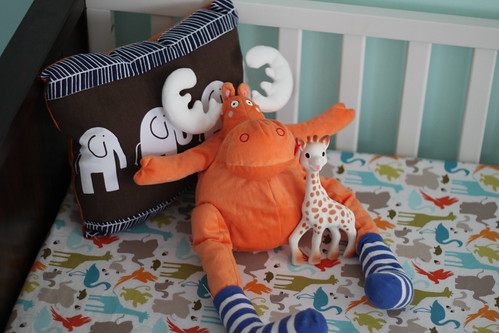
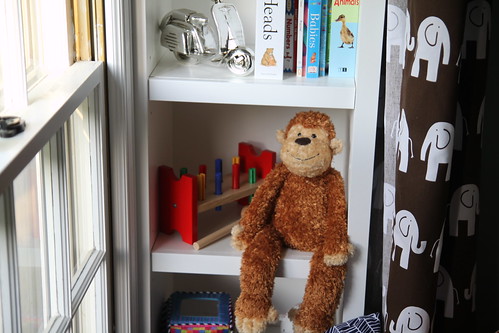
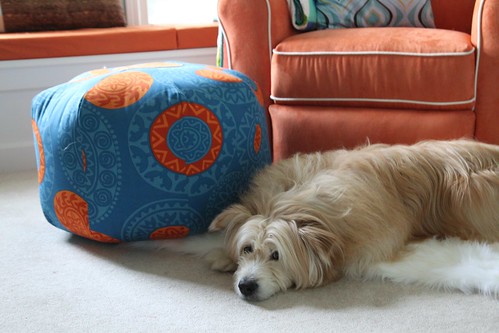
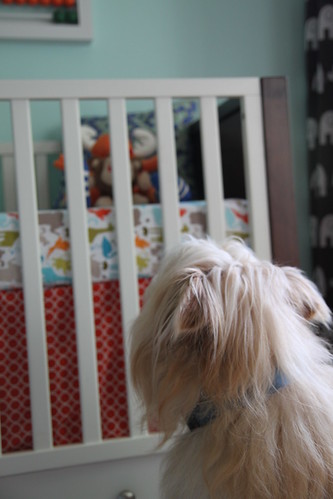
So what do you think? You can see from some of the pictures that a furry friend already likes to spend time in the space. Although this is normal position…
…trying to will the stuffed animals that make noise when you squeeze them from the crib into his mouth.
Want to know where I got something? Here is the source list for everything in the space. Just got a little too long for a single post.
Missed the other nursery posts and want to see the DIY how-to? Catch up with the window seat construction, abacus, dresser, changing table, bookshelves, stump table, pinwheel mobile, quilt and bedding.
