I think this is my Best Idea Ever
At least that is what I told Derek as I was flipping through a CB2 catalog.
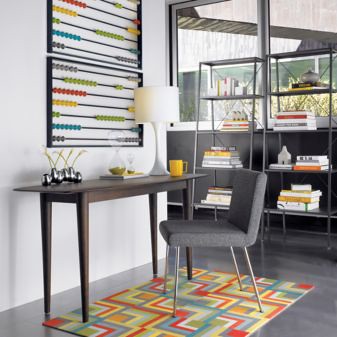
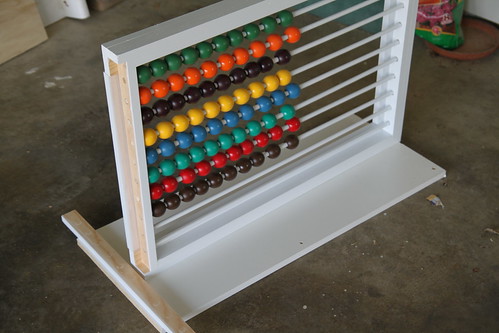
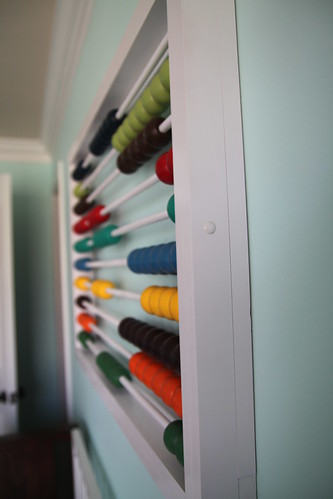
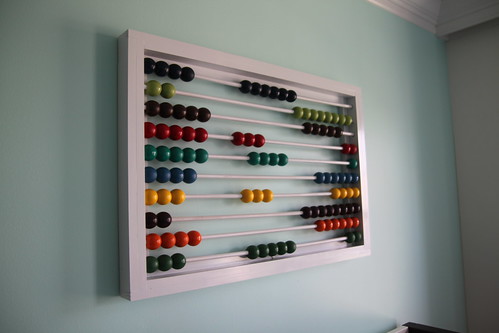
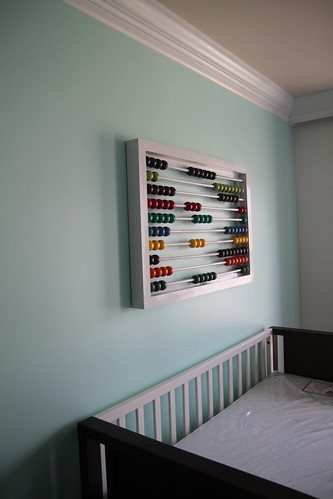
The oversized abacus. The perfect addition to what to put above the crib which had been stressing me out for awhile as I was very uninspired in this area for some reason. Of course we were not going to spend $150 for the CB2 version when of course we could make our own. I mean how easy….see any resemblance to another DIY project?
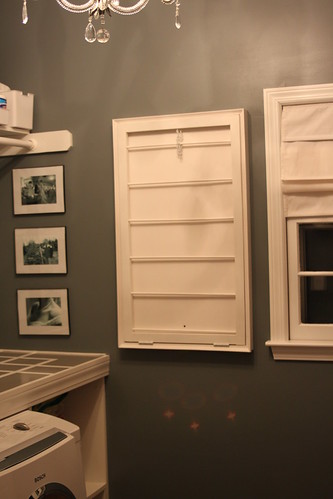
It was meant to be, we already basically had made one in the laundry room without the beads and some hinges.
Ready for the how-to?
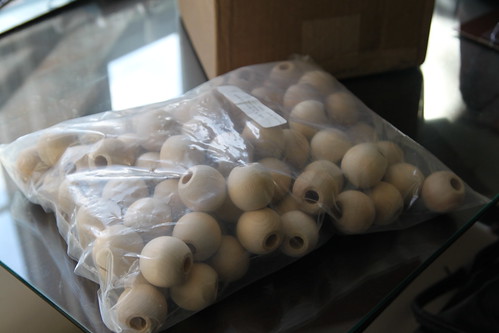
1. Find 100 beads for you abacus. I ordered mine from this website, Woodworks Ltd. They had tons of options and the beads came super fast. I ordered 1-1/2" Round Beads, 1/2" hole. Of course you could do a different number other than 100 if you did not want to be mathematically correct.
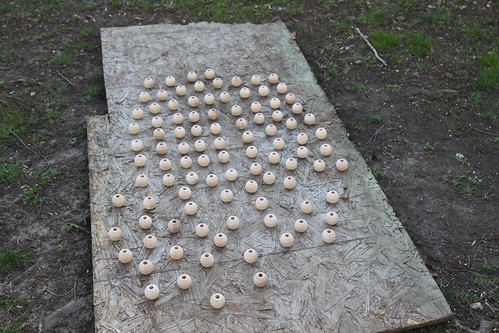
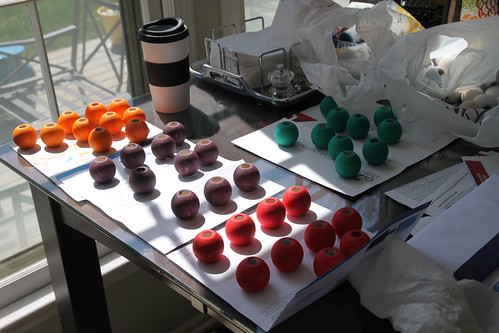
2. Prime ‘em. We used spray primer and it was quick and easy. After one side dries, flip them and prime the other.
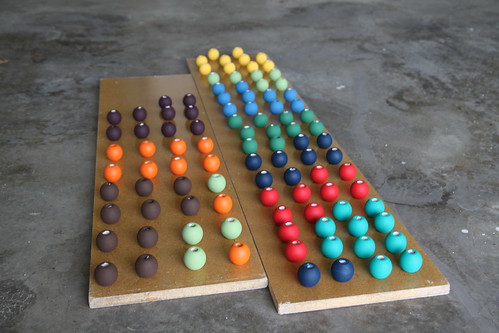
3. Paint them. I used cheap acrylic paint because….well I was being cheap and did not want to buy 10 cans of spray paint. I may have regretted that decision as I was hand-painting the second coat on every.single.bead. And then flipping them over. When the baby gets older I am going to make sure he knows that his mom loves him so much that those suckers are handpainted.
4. Gloss them. The acrylic paint was in flat finish so we added a glossy spray coat.
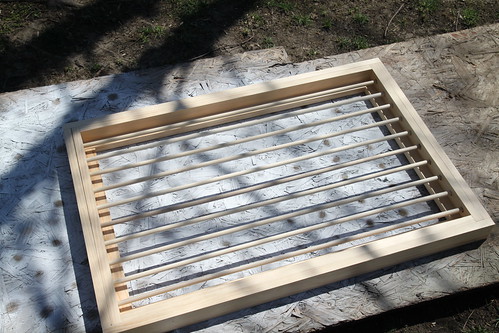
5. Make the frame . We made ours thicker than the CB2 version so that it could be screwed into the wall. That way if Junior decides he is more athletically rather than mathematically inclined, he will not be able to pull it down on himself.
Materials: 4 – 8’ 1x2; 1 – 10’ 1x3; 10 dowel rods, your choice as to size; 1 1/4” nails; 1 1/4” screws if you want to be able to take it apart.
a. For this size, cut 2 22” 1x2 pieces.
b. Clamp the 1x2 pieces together.
c. Drill holes through the middle of both 1x2 pieces every 2 inches so the holes match up exactly.
d. Nail the 1x2’s with holes as verticals with 2 33” long 1x2 boards to make the inner frame.
e. Add a second “outer frame” of 1x2 around the outside of the inner frame. This allows the dowel rods to fit snugly in their holes and does not require gluing of the dowels. It is important that you do not nail both ends of the outer frame on at this time. If you nail both sides you will not have a way to get the dowels into the frame. The long sides of the outer frame are 34 1/2” and the vertical sides of the outer frame are 22”.
f. Use the 1x3 to make a backing that will be used to screw to the wall. You will have a slight overhang on the inside of the abacus to screw through. Nail this to the back of the outer frame 1x2. Long 1x3’s measure 34 1/2” and the short sides are 18 1/2”.
6. Finish the frame. I was originally thinking of staining it, but in the end we went white. So we used spray primer and paint.
7. Install the beads. Since we were thinking ahead and left the left side off, we just slid those babies on making sure not to miscount. Because that would have been embarrassing.
8. Attach the final side piece. We decided to use screws so that it can be removed if I want to change the color of the beads for some odd reason. Or if Junior decides to use a dowel rod as a pull up bar and it snaps. Screws will make it easier to slide out and replace. We filled the screw hole with one of those white caps.
9. Hang it. Like I mentioned before, we screwed it in directly to the studs and then filled the screw holes with the white caps.
10. Enjoy your functional art. And the thought that somehow it will make the baby a mathematical genius in their sleep. 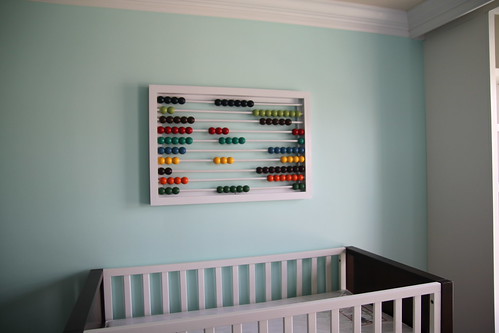
Best part? It was less than half the price of the CB2 version and it was customized to our colors, size, and more sturdy for screwing in the wall. And if a nursery is not in your DIY plans, you could stain all the beads or paint them all one color to match a more adult room.
It is exciting to actually have something hanging on the wall…now I just need to get going on the mobile and those drapes.
