Craft Room Reveal
This craft room reveal has been a long time coming. And honestly there are some things that I can see changing in the future. But before we see what it looks like now, let's take a stroll down memory lane and see where we came from.

All my favorite design features in one room-wallpaper, honey oak and a poorly anchored brass ceiling fan.
When we moved in I thought a good solution would be just ripping down the wallpaper and enjoying the pink paint until I got around to painting. Unfortunately after ripping down the wallpaper I learned that the previous owners had not painted all the way to the ceiling. So I lived with this for about a year.

That brings us to what it looks like today-
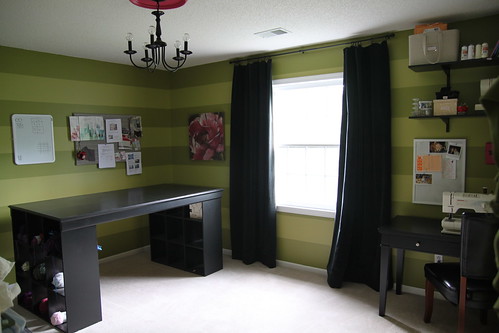
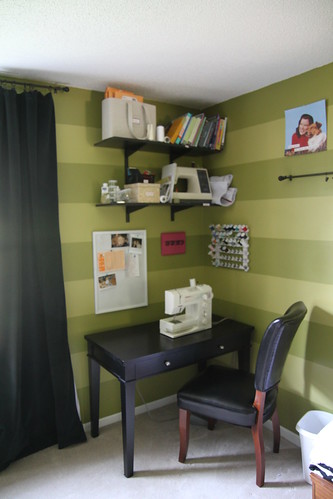
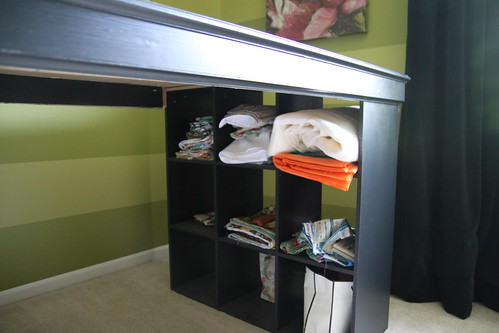
The cutting table/craft desk was DIY and you can make one too following the tutorial here. I knew that this was the one space I could get away with some fun stripes and while it took awhile for all the taping, I loved how it turned out (tutorial here).
And I love my sewing corner….
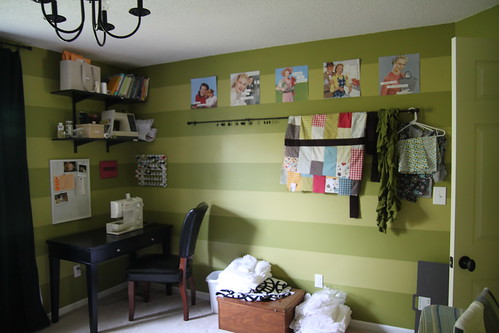
Across the back wall I had Derek install a curtain rod for me to hang “in progress” projects. I love how it works, except for the fact that a lot times projects don’t move from “in progress” to “complete”. Oh well.
Above the rod are pictures I cut from an old Anne Taintor calendar. Would they look better in frames…yes. But this is a low budget craft room redo.
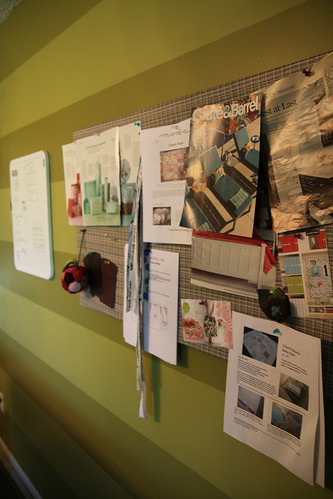
Above the cutting table is my inspiration board/bulletin board to hang random stuff. To make it look non-bulletin board like, I wrapped it in fabric and stapled it to the back. Super quick and easy.
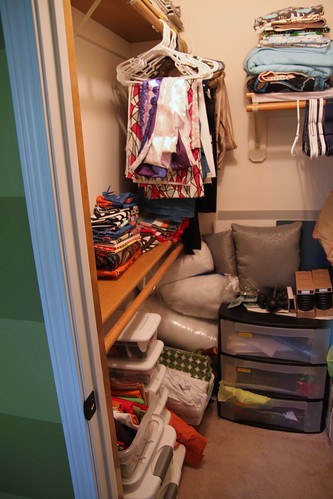
In the other corner we have more storage space.
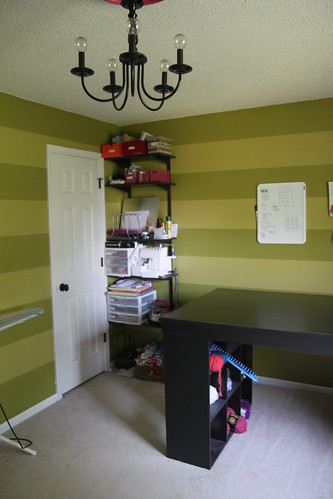
Oh and the chandelier. I really wanted something cool (and expensive) of course. But the ole budget brought us back to DIY as I detailed here.
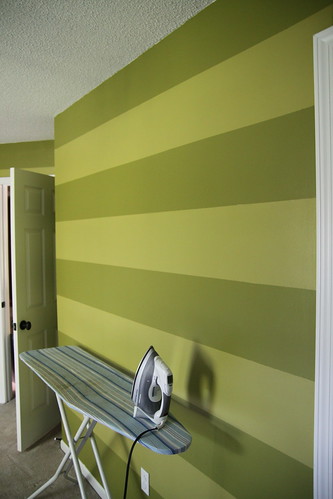
I still have one blank wall which my ironing board sits below. My plans for this area include adding a quilt design wall so that the floor can be retired for this purpose. Oh and getting a new matching (and unstained) ironing board cover.
Craft Desk: $125 (how-to here)
Sewing Desk: $100 (JCPenney outlet store)
Paint: $70 (painting stripes how-to here)
I used one gallon of Tupelo Tree and one gallon of Sassy Green from Sherwin Williams in this room. We had all the other painting supplies.
For the curtains I used some of the fabric I had originally bought for the kitchen (you know the ones that turned out to be two different colors like I mentioned here). Well, I recycled two panels of that fabric and I had lining fabric left over from the family room panels. So all I needed to buy was the rod and the rings.
Shelving: $125 (from Home depot)
I decided to go with adjustable shelving because at that time I was not sure how I was going to organize everything and it would give me flexibility in the future if I ever changed my mind. Not that that ever happens....
Miscellaneous Organization supplies- $75
Most of the organizational things I had previously and either repainted or recovered them. But I did buy some things to organize all the drawers as well as other things for the shelves.
Sewing Chair- Free
I swiped this chair from Derek's poker table in the basement. Eventually I would like something cuter....but this one matched as was the right price so it got moved to my room.
Grand Total: $555
Not bad for an entire room make-over. But of course that does not include my fabric stash.
