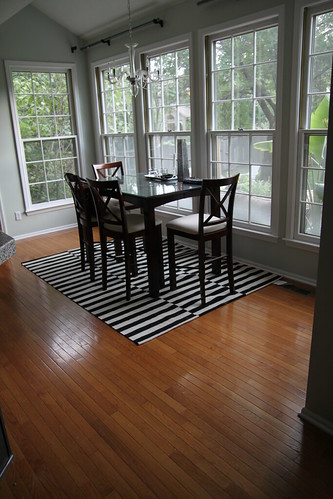
Before/After-Kitchen Remodel
Pink must have been their favorite color as we had pink laminate counter tops, pink baskets, pink mini blinds and of course more glossy honey oak, wallpaper and brass going on. Bleh.
KITCHEN BEFORE

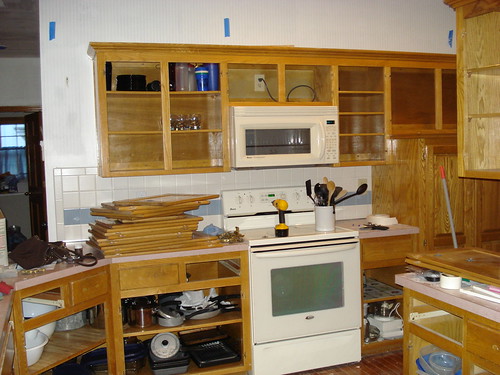
The revised plan: one weekend Derek was out of town and I decided (with the help of some wine) that I was ready to start the kitchen. No time like the present. I had 4 weeks of vacation coming up so that it would be perfect timing. So I got a spray bottle, a ladder and a putty knife and started stripping wallpaper. Derek came home and SURPRISE! He was so thrilled.
KITCHEN DURING
Overall we had a very low budget for our kitchen remodel and planned on doing it DIY. We priced new cabinets and knew that it was not going to be in the budget cards. And I wanted some solid surface counters….again after the pricing of a solid slab we decided to go with granite tile. How much did we spend? Well this DIY remodel was back in the pre-blog era so I was not keeping meticulous records. We estimate under $3000. Which in the world of kitchen remodels is nothing.After the wallpaper was scraped, I realized that light blue lines were visible. I first thought it must have been the adhesive of the wallpaper. And then I realized it was a second layer of wallpaper that they had painted over and then applied the newest layer that had already been scraped. And the first layer was attached directly to the drywall. So that when you futility tried to to remove it, chunks of drywall came with it. After cursing and sleeping on our option of re-drywalling the entire space, we went with painting over the first layer of wallpaper. Hey they had already done it. I will say three years later, i have never regretted this decision.
The wallpaper was not the only only issue. We also had a giant hole in the ceiling. This was the result of water running into the kitchen the first week we owned the house as I settled in to enjoy my new whirlpool bath. Double lovely.
 We scraped the old greasy popcorn, removed the florescent monstrosity and added can lights as well as pendants.
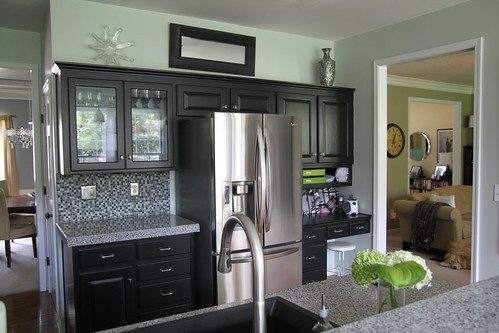
And then the cabinet painting started. The grey primer brought out the pink countertops even more. For the complete how-to click here. I will say it totally changed the look of the kitchen, but it was a very.long.project.
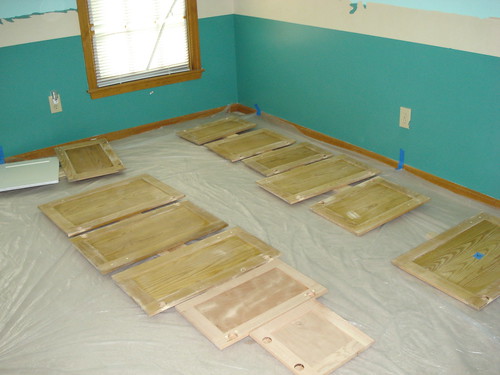
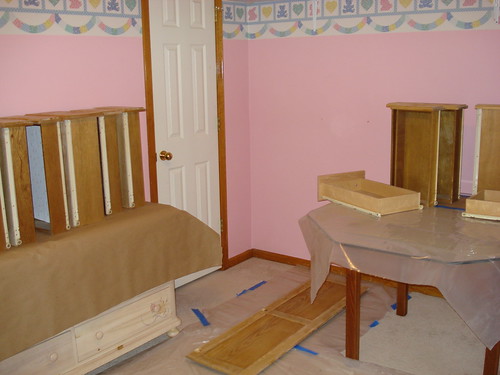
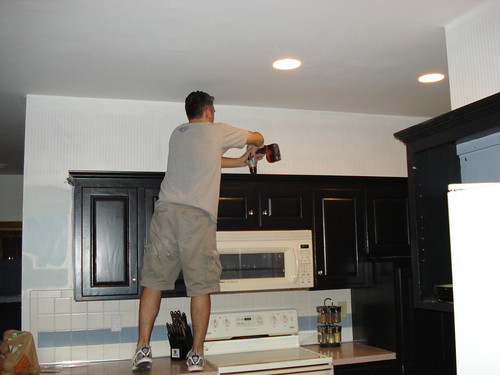
Good thing we had some empty rooms to paint doors and drawers in…The brass cabinet hinges were also replaced to concealed hinges. Does not sound like a huge detail, but it made such a difference in updating the look of the cabinets. It required some re-drilling and the how-to is part of this post.
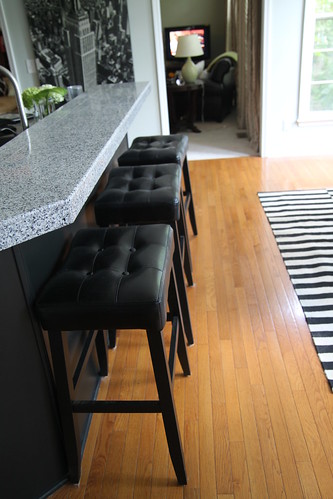
We also added some features during the construction process. One was a second tier to the peninsula for barstools. 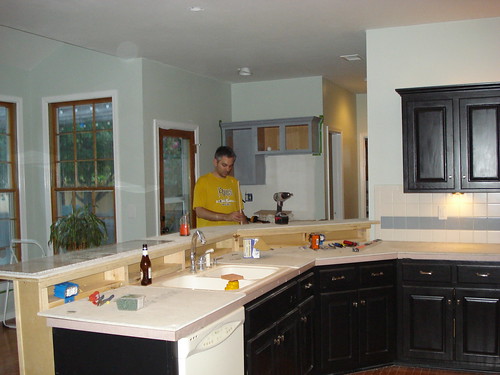

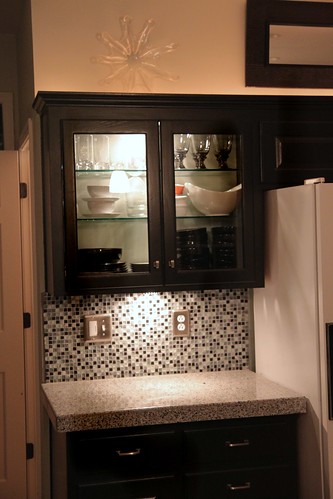
Derek also added over cabinet and under-cabinet lighting.
 The old stained sink was replaced with a single bowl black granite one.
And then we resprayed the ceiling.
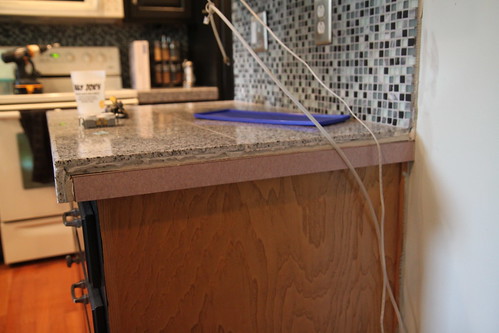
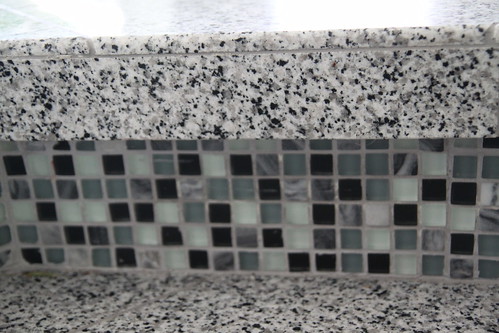
After that was more painting. Since we went black with the cabinets, I knew we needed something super light on the walls. I got some inspiration from the backsplash tile and went with Sherwin WIlliams Sea Salt. Oh and we can’t forget the trim. The beautiful honey oak trim. There are six windows in the kitchen alone and they all have mullions in them. Which take forever to paint. But I had started this project and we were getting closer to the home stretch. At least that is what I tried to repeat to myself as I spent hour upon hour painting them.For the counters and the backsplash, we had help with the install by Derek’s stepdad. He installed the granite tiles on the old pink countertops with the help of cement board in between. He then used a grinder to smooth the edges of the corners to make them round. Here is what the layering looked like:
We added new hardware to the cabinets and inserted glass into some of the doors (tutorial coming soon). Outlets and covers were also replaced.
The appliances are/were ugly but they were not in the original kitchen budget. The dishwasher was replaced first with stainless and the refrigerator followed. Hopefully the completely functional but incredibly ugly bisque stove and microwave be bye-bye soon as well.
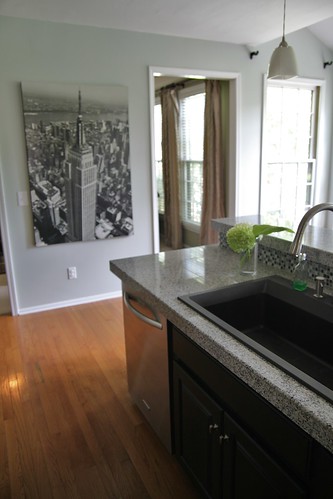
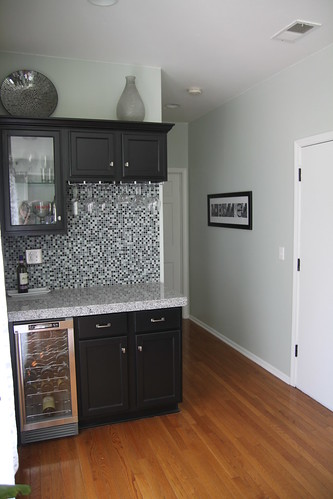

In addition to the white stove, curtains also need to be added before this space is considered really an “after.” We are only two and a half years removed from the start of the remodel, so we would not want to rush anything though.
I am linking up to Thrifty Decor Chick Show Us Your House!


